Suture Etiquette
Let your skills be a symphony of precision and passion
Basic Surgical Instruments
When suturing, it is imperative that you have an appreciation of the different equipment and their uses. They are what enables you to place sutures into the body safely and efficiently. Confidently knowing how to handle them ensures speed, precision and reduced tissue trauma all whilst providing the patient with the best cosmetic result possible.
Toothed forcep
Non-toothed forcep
Scissors
Scalpel
Needle driver (holder)
Mathieu
Hegar
Toothed vs Non-toothed Forceps
Toothed Forceps
These forceps can be recognised by their sharp teeth on their inner distal end which, when closed, interdigitate with eachother. They allow tissue to be held with minimal effort, ensuring it is securely held in the desired position due to the teeth. Toothed forceps are used for tissues which can tolerate the minor trauma caused by the sharp teeth such as skin, subcutaneous fat, fascia, muscles and tendons. It is important to note that they should not be used on bowel tissue, nerves or vessels due to a risk of puncture leading to complications.
Non-toothed Forceps
These are characterised by their grooved, but flat, inner grasping edges allowing atraumatic tissue handling. Unlinke toothed forceps, this instrument requires a considerably larger force to obtain a secure grip therefore running the risk of crush injury to the tissue. However, due to the absence of teeth, non-toothed forceps are used for more delicate tissues such as bowel, nerves and vessels.
Toothed forceps (left) and non-toothed forceps (right). There are many subtypes each with their eponymous names.
Demonstration of the pencil grip as a way to handle forceps, between the thumb, index and middle finger of the dominant hand.
Needle holder (driver)
Needle holders are essential for holding the needle containing the suture. They contain latches that are staggered which locks the driver in place. The tips of the driver have gripping surfaces allowing it to securely hold the needle. There are a couple of variations of needle holders, one of which is the Hegar holder which is the more popular amongst surgeons. These are used for holding fine sutures when closing wounds. The other holder, known as the Mathieu holder, is utilised in more complex surgeries where longer sutures have to be used, or if the surgeon is changing needles/grip frequently. However, this is less frequently used.
Hegar
Held by placing the thumb in one opening and the ring finger in the other (of the dominant hand). The index finger is placed on the arm of the holder to allow stability. Squeezing with the thumb and ring finger locks the holder. By applying down and outward pressure to the thumb opening allows the latches to be unlocked.
Mathieu
Held by covering one side with the thumb, and the other side with middle, ring and small finger. The index finger can be placed similarly to the Hegar holder for stability. Again, used with the dominant hand. By squeezing the holder it locks consecutive latches. Down and outward pressure from the thenar eminence will unlock the latches.
Scissors
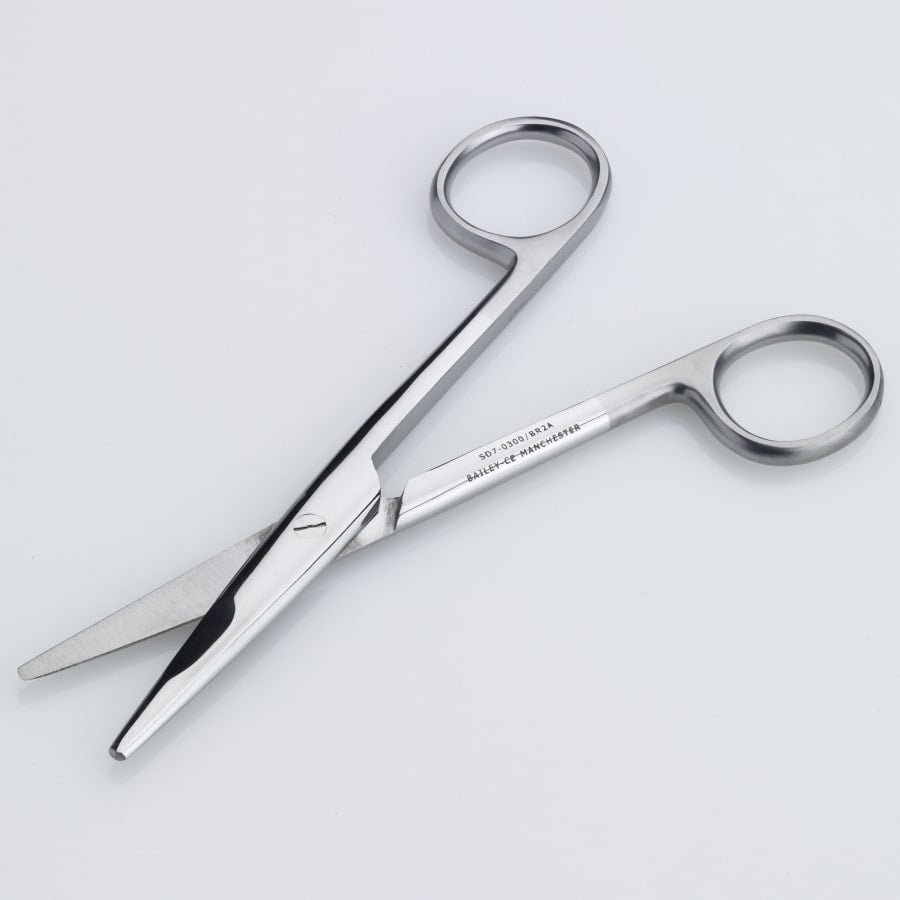
Surgical scissors are used to cut tissue of varying thickness and angles, and also sutures. Again, there are many various scissor types all with their eponymous names which you will become accustomed to as a post graduate trainee. However, there are two distinct types, Mayo scissors and Mcindoe scissors. The former is a short, wide and heavy pair of scissors used to cut thicker tissue and sutures. This is the type that you will probabaly use. The latter is characterised by curved blades and is utilised more for tissue dissection.
Mayo surgical scissors
Mcindoe surgical scissors
These scissors are held in a similar fashion to the Hegar needle holder shown above
Scalpel
The scalpel is another basic surgical equipment used for cutting tissue. Although basic, the use of the scalpel still requires proper technique as the blade needs to be at the correct angle to the surface of the intended cut to ensure the cut is proper. Additionally, maintaining good control over the scalpel ensures its smooth movement, and so not creating a jagged and uneven wound. This will affect both wound healing and cosmesis.
There are two distinct ways to hold the scalpel based on the level of control needed when cutting different tissue, the pencil grip and the power grip. The pencil grip allows for finer control when cutting delicate tissue, whereas the power grip provides more controlled power over tougher tissue types. These are illustrated below.
When cutting using the scalpel, surgeons will coincide their cuts according to langer's lines (lines of reduced tension). On the face, langer's lines can be identified as their course runs parallel to that of wrinkles. On the limbs, they are more difficult to identify, but form a circular patern which is perpendicular to the long axis of the muscle underneath. Cuts along these lines reduce spreading of wound edges during wound healing and allow for better cosmetic outcomes for the patient.
An easy maneuver you can do to help you find these lines of tension is to pinch the skin with your thumb and index finger in different directions. You will find that the skin becomes wrinkled between your fingers which shows you the direction of the langer's lines for that specific area.
Pencil grip hold
Held between the thumb, index finger and middle finger of the dominant hand similar to the handling of surgical forceps.
Power grip hold
Held with the hand surrounding the handle and the index finger resting on the blunt edge of the blade for stability.
Langer’s lines on the face
Langer’s lines on the body

Self-directed Learning
In addition to the topics covered within suture etiquettes, please review the following areas to fully complement the practical side of suturing.
Aseptic technique
Injection technique (to also include local anaesthetics)
Pharmacology of local anaesthetic agents


